
O4 preparation / lens mod
This guide explains how to prepare a DJI O4 with the best modifications before installing it on a drone.
🛒 Required Materials:
- A DJI O4 VTX
- Super Glue (Cyanoacrylate)
- A DJI O3 lens (approximately €16 on AliExpress)
🛠️ Tools:
- The 3D-printed lens alignment tool (Printables Link)
- A serrated knife (e.g., Opinel)
- Precision tweezers
- A stick of Patafix
- A lighter or a hot air station (be careful not to heat within 10 cm of the lighter)
⚠️ Warranty Note: The author disclaims all liability for any damage to equipment or warranty refusal by DJI Support following these modifications. However, based on experience, returns of modified O4 units to DJI Support rarely cause issues.
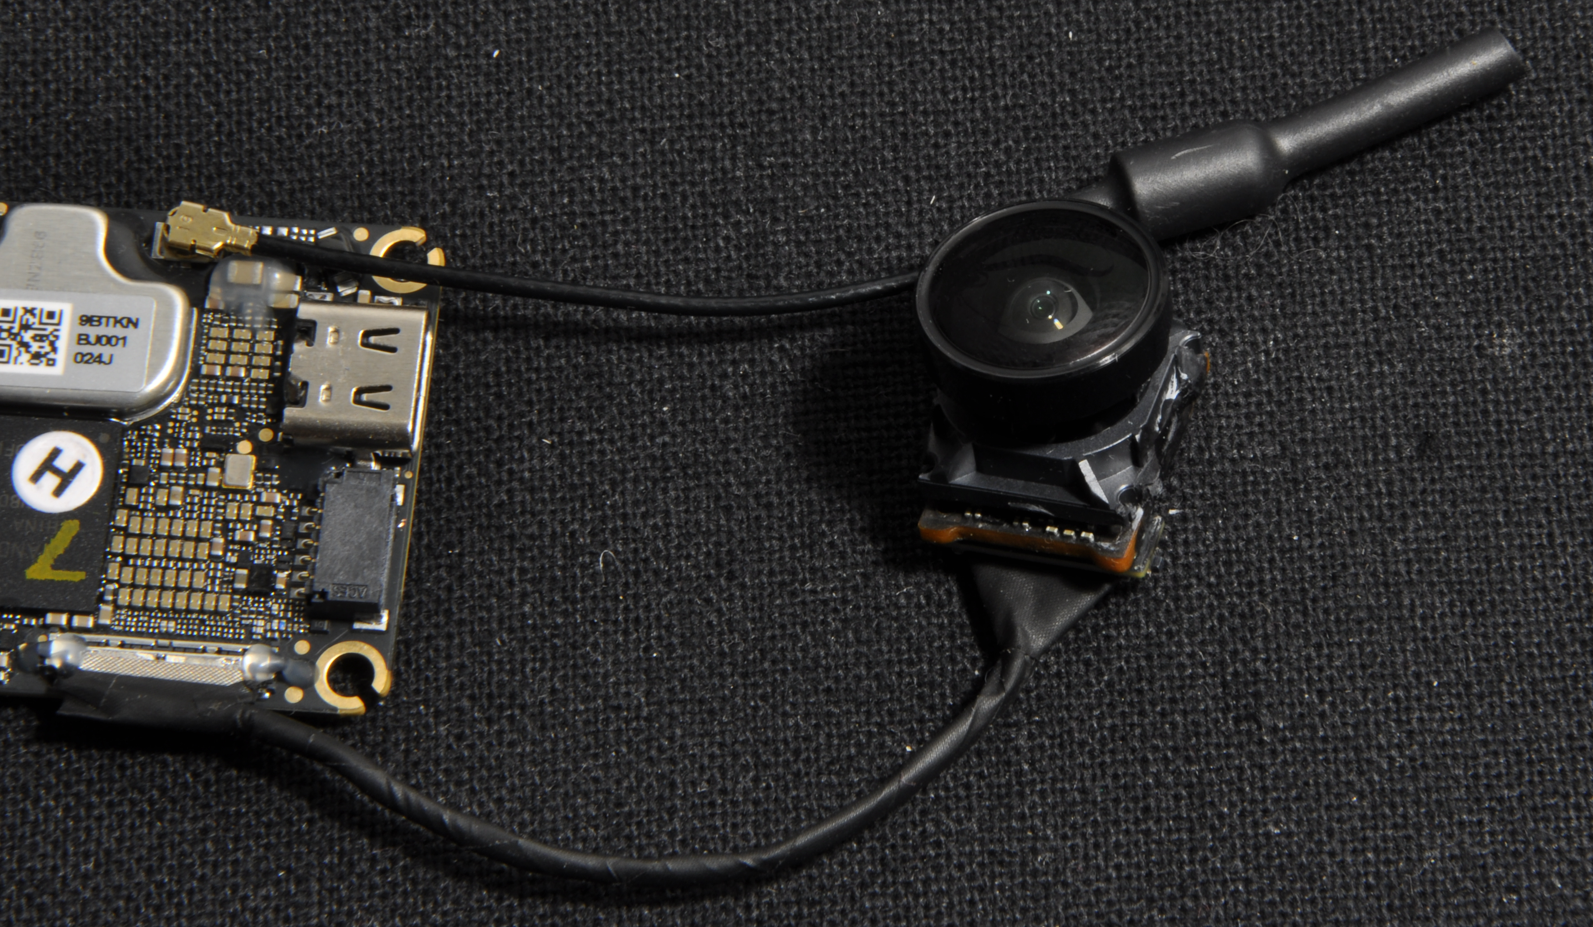
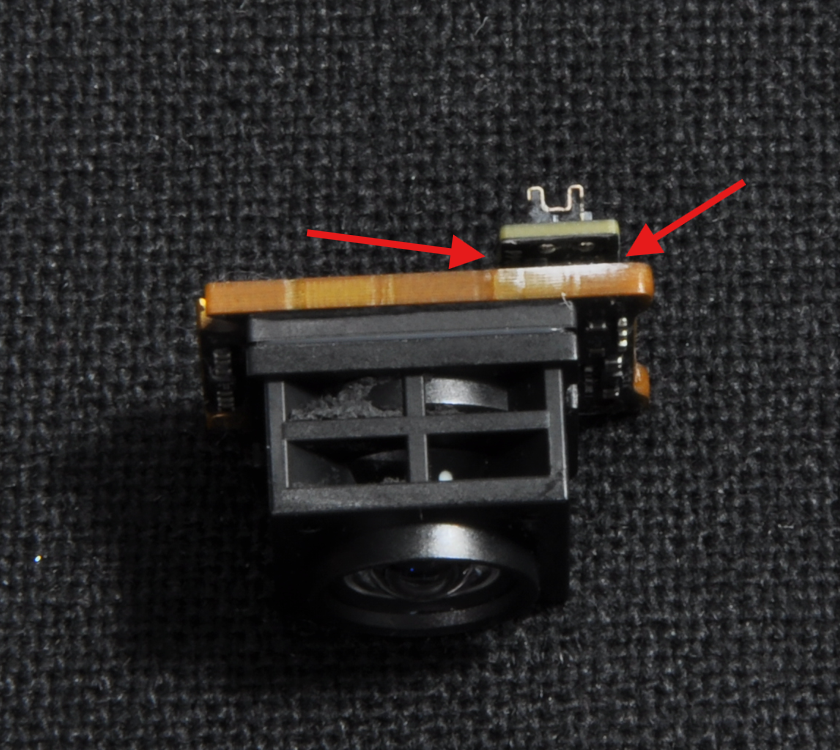
Step 1: Remove the Camera Connector
To begin, detach the camera connector. It is held in place by a small dot of glue. To remove it, use tweezers (slight heating may help).
Caution: Only scrape off the glue dot located on top.
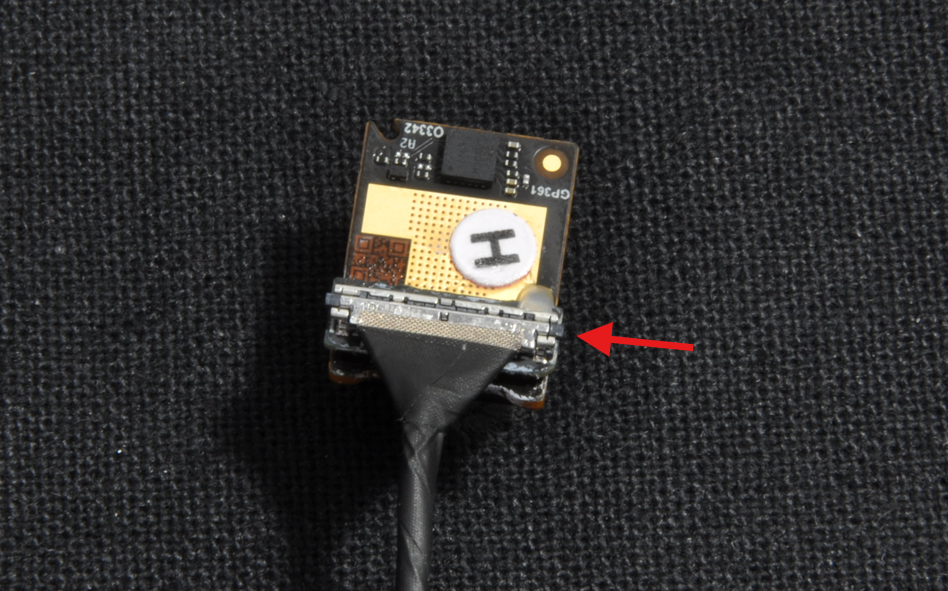
Then, pry on the plastic part of the connector that protrudes on each side to unclip it.
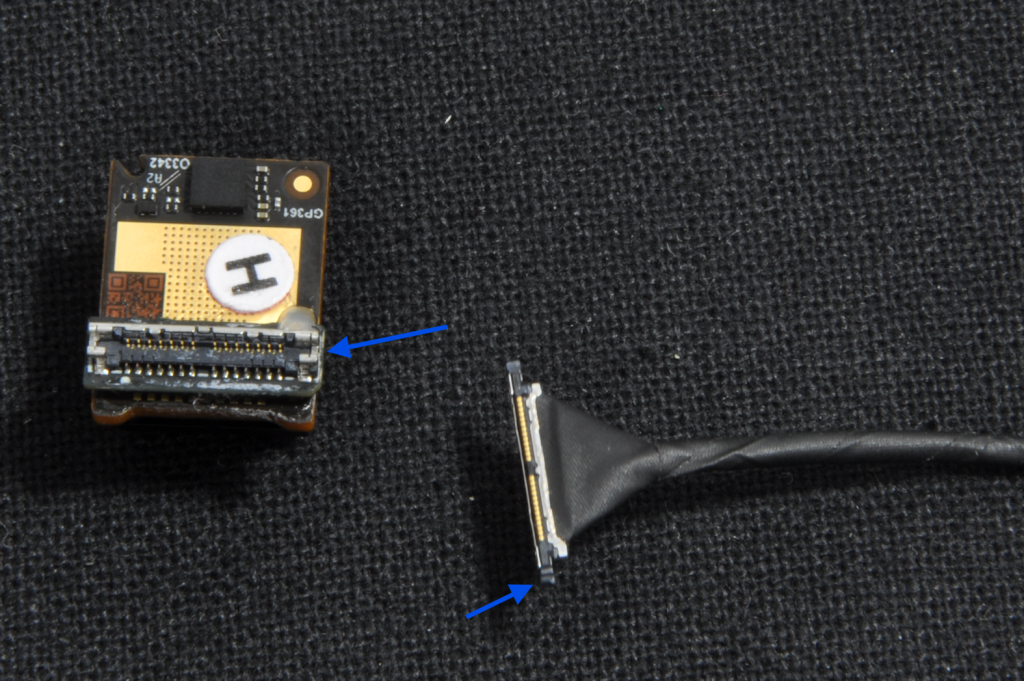
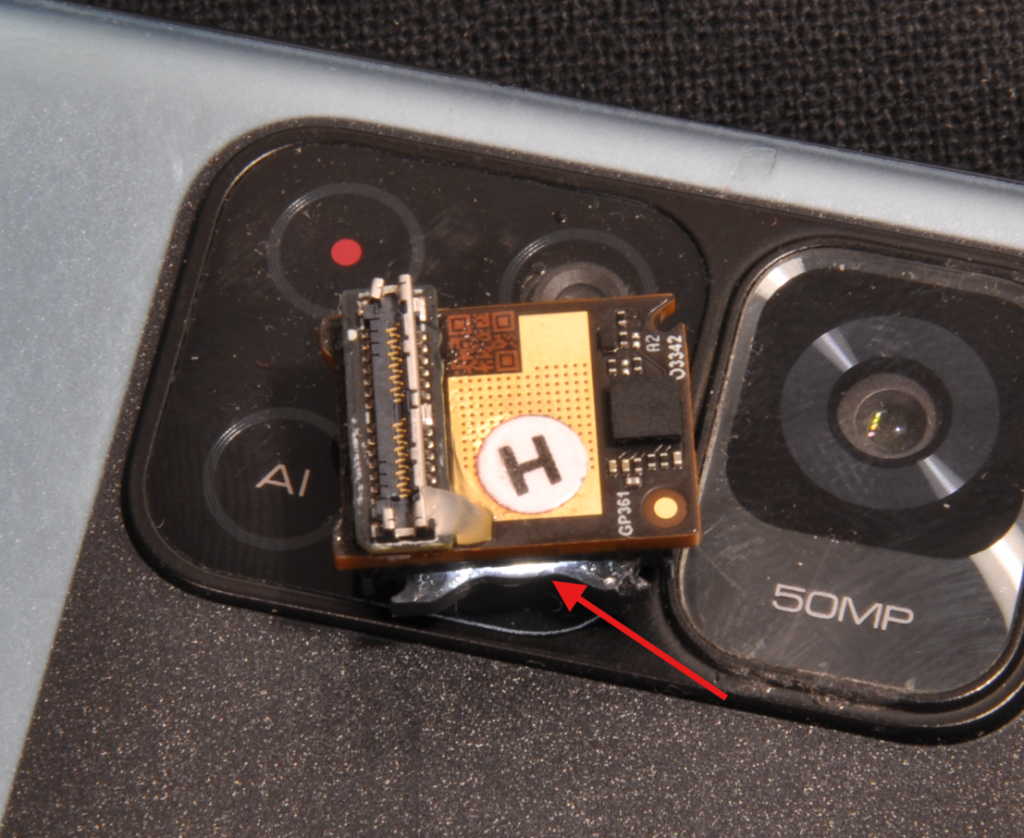
Step 2: Reinforce the Connector (Mads Tech Technique)
This step corrects a design flaw in this component by adding a bit of Super Glue. Take the glue tube and apply it between the two PCBs, along the entire length and on both sides. Objective: Without this reinforcement, this second connector (which proves unnecessary) breaks very easily upon impact.
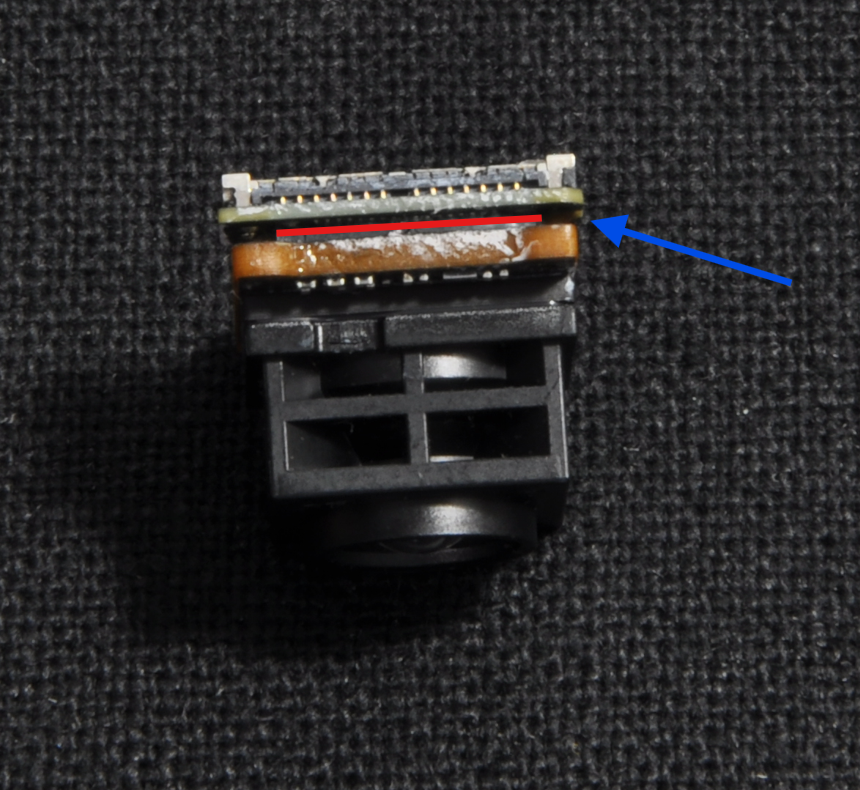
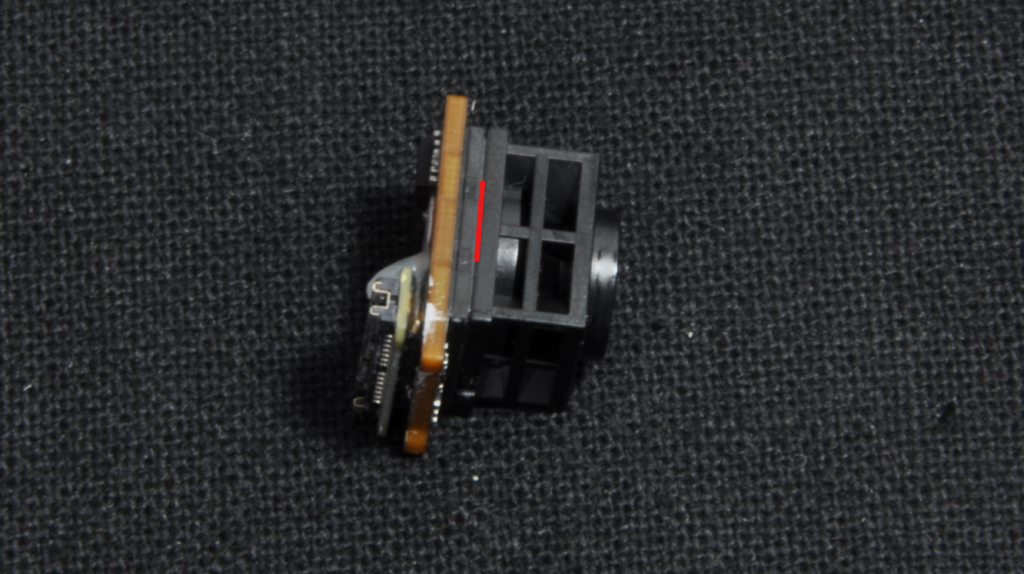
Step 3: The Lens Mod (Design and Technique by Krhom)
This step addresses the second flaw of the O4: its excessively narrow field of view (FOV).
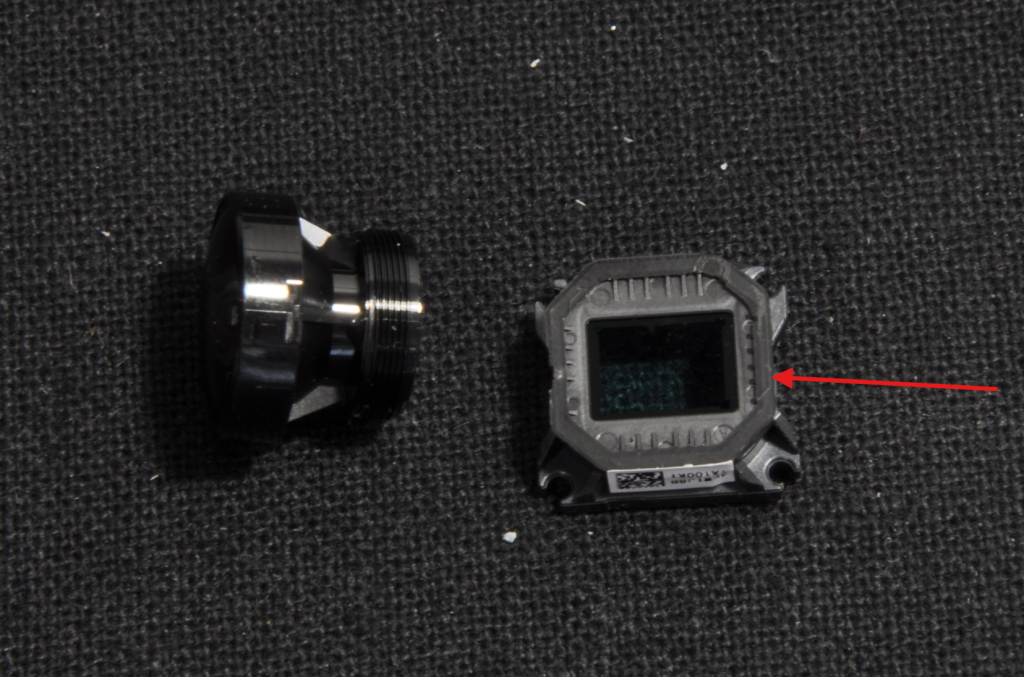
To begin, separate the camera from its original lens.
To facilitate the operation, heat the camera until it can no longer be held by hand.
Next, insert a knife blade into the gap between the lens and the sensor to separate them.
This step is difficult; proceed from the corners and do not hesitate to apply force, as the lens will not be reused anyway.
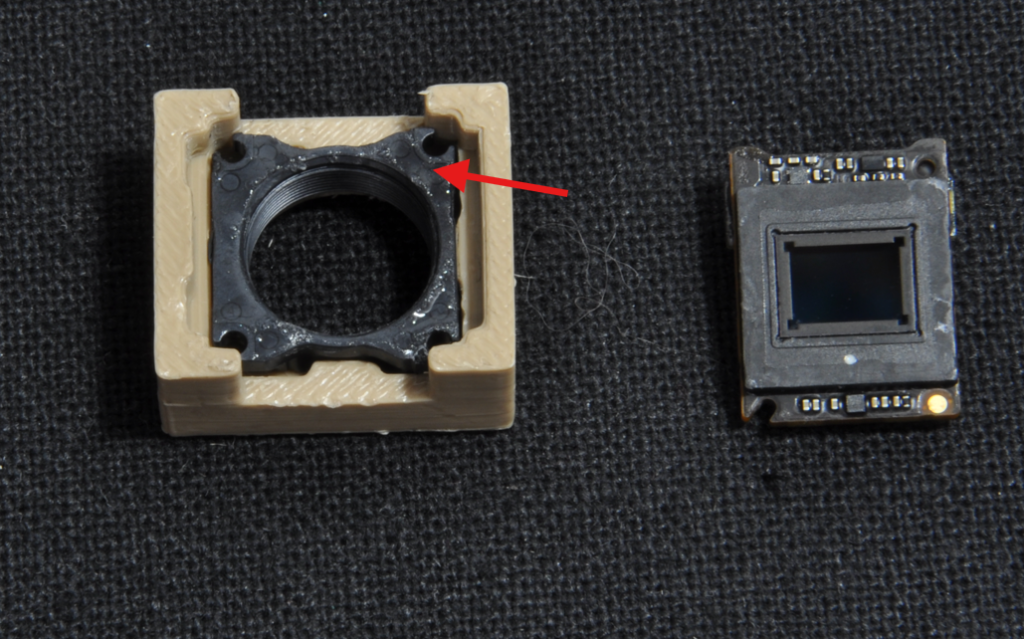
Once the lens is removed, scrape off all remaining glue around the sensor.
To do this, heat and use a knife without teeth.
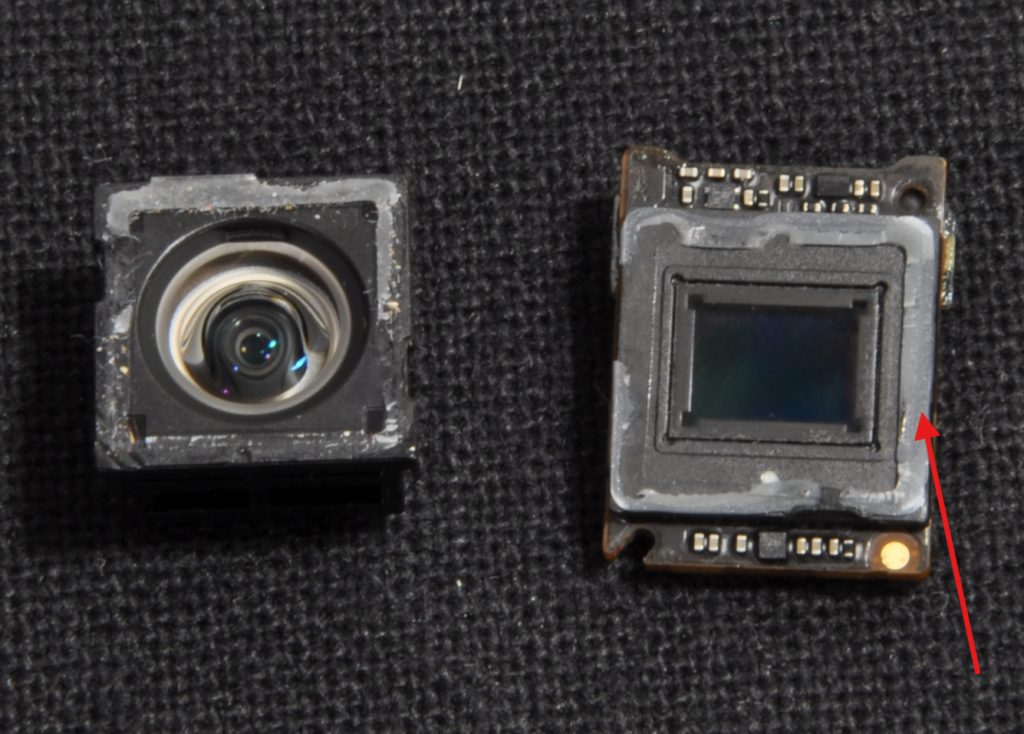
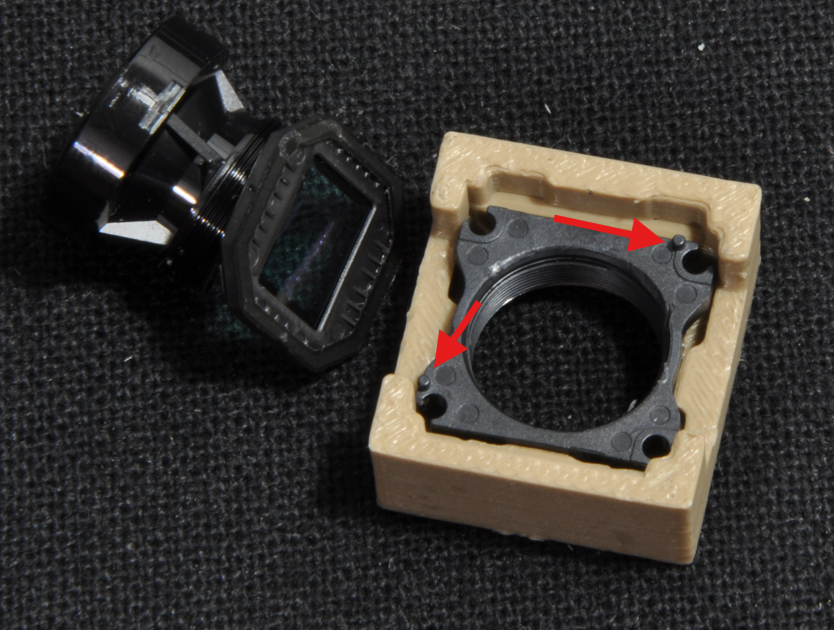
Then take the DJI O3 lens and unscrew the optical part from its mount. Apply slight force to break the adhesive and remove the lens.
Next, separate the infrared filter; this step is also difficult, do not hesitate to apply force and heat.
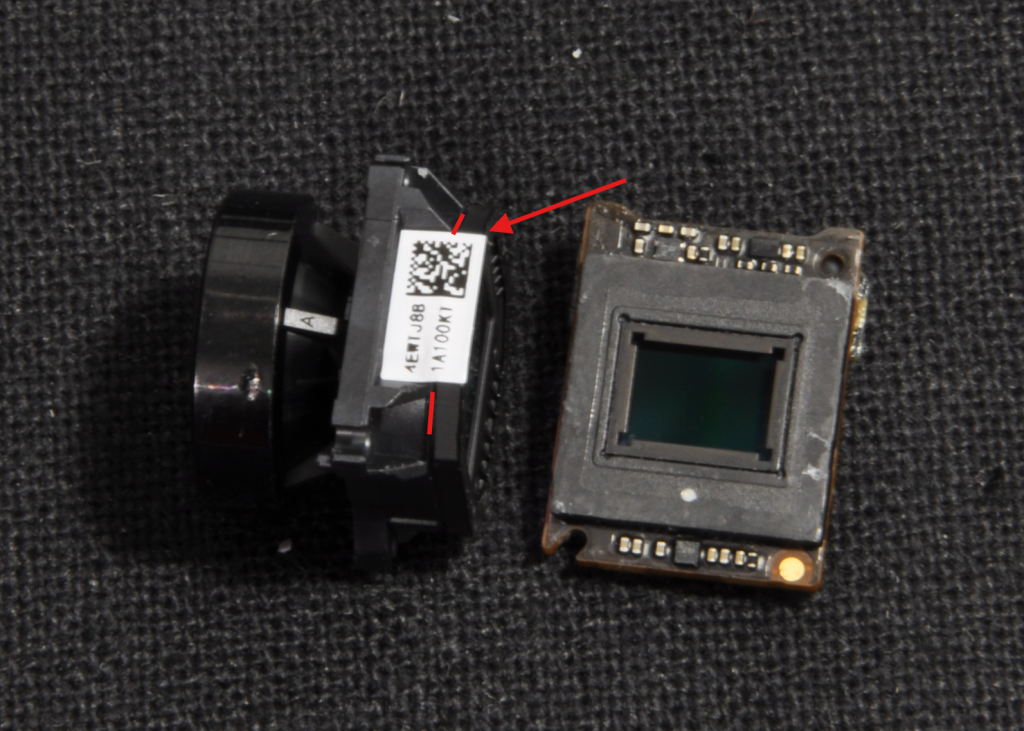
Cut off the 2 protruding tabs on the lens mount.
Insert the O3 lens mount into the alignment tool (jig) and glue the sensor onto the visible side of the mount using super glue.
Check for light leaks Using a phone flash.
If necessary, seal any gaps with glue, wait for it to dry, then use a permanent black marker.
Repeat this step if light still passes through.
Note: It is possible to file/cut the plastic edges of the O3 lens mount slightly to save space in the TPU later.
Step 4: Cleaning and Focusing
Clean the sensor (using a lens cloth, alcohol, and a cotton swab).
Pro tip: Connect the camera without the lens. Any dust will be immediately visible on the screen via the video feed.
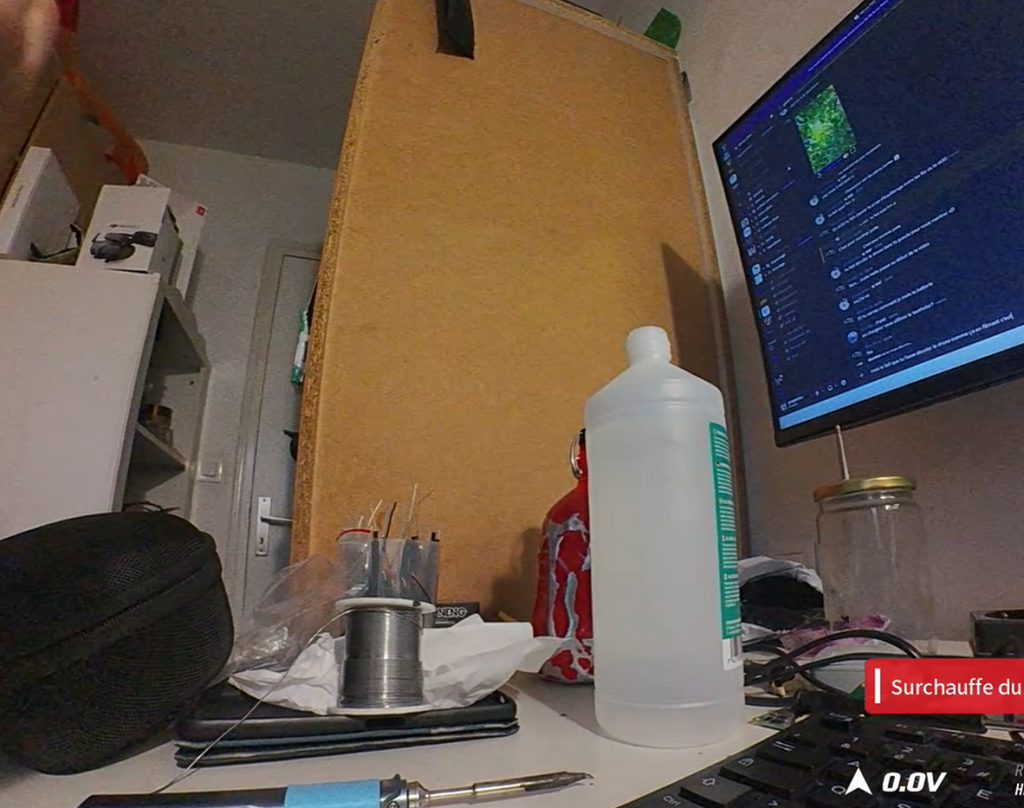
⚠️ Focus: Perform focusing on an object located at least 2 meters away. Then, lock the threading with a dot of glue or varnish.
The modification is complete!